Building a residential wheelchair ramp is a great way to improve accessibility for a home, whether it’s for a wheelchair, stroller, or other mobility aids. Here’s a step-by-step guide on where to start:
1. Assess Your Needs
- Purpose: Determine the purpose of the mobility ramp. Is it for a wheelchair, a walker, or just to assist with strollers? The type of use will affect the mobility ramp’s design.
- Dimensions: Measure the height of the step or porch you want the mobility ramp to go over (the rise). You’ll also need to consider the space available for the wheelchair ramp.
2. Check Local Regulations
- Building Codes: Check your local building codes for any specific requirements for residential ramps. There are usually guidelines about the minimum slope (ramp angle) and width. Our aluminum wheelchair ramps are as per ADA guidelines and do not require special permits from the city for installation.
- Permits: You may need a permit for construction depending on your location, so it’s best to consult local authorities.
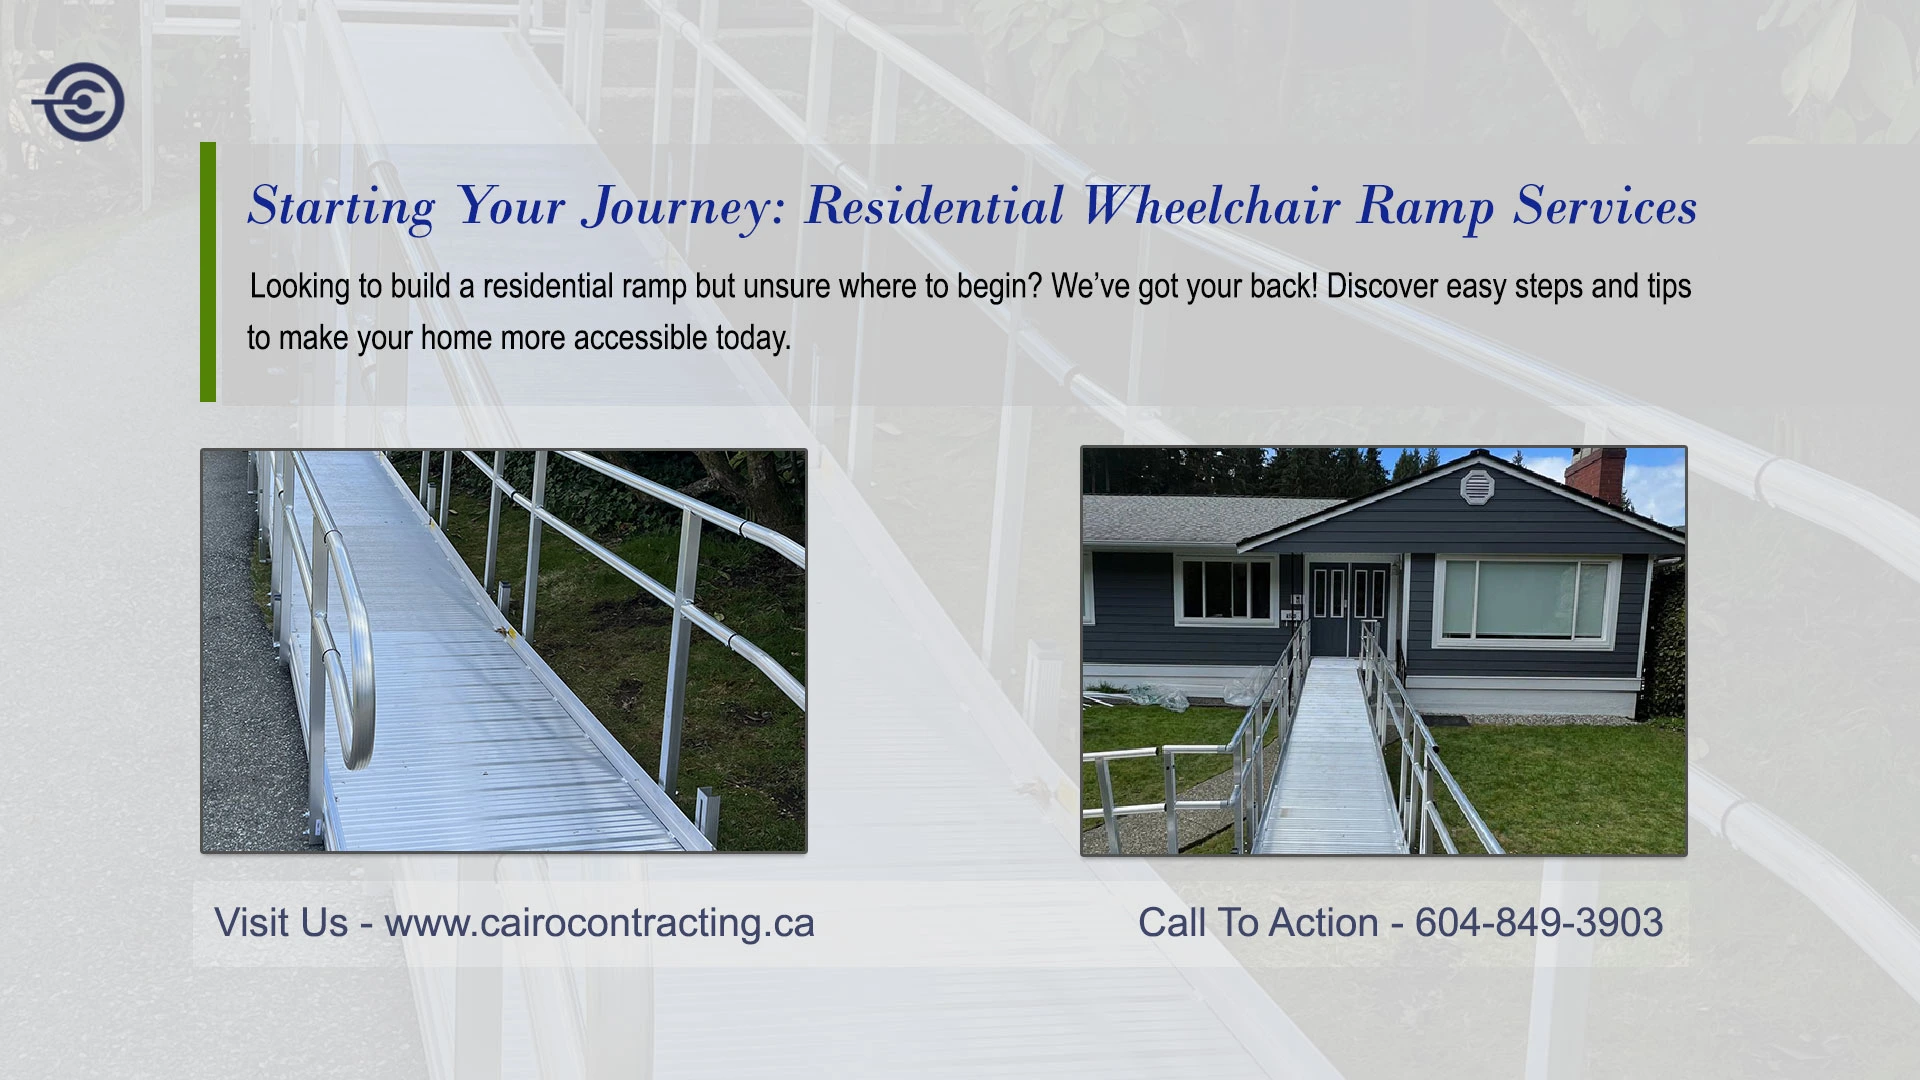
3. Ramp Design
- Slope/Grade: The general guideline for a wheelchair ramp is a 1:12 ratio, meaning for every inch of height, the ramp should be 12 inches long. For example, a 3-inch rise would need a 36-inch ramp.
- Width: A standard width for a residential wheelchair ramp is 36 inches, though it can vary depending on the need (wider if you need room for a caregiver or multiple people).
- Surface: The surface of the wheelchair ramp should be non-slip, especially if the ramp is outdoors and exposed to weather.
4. Ramp Materials
- Wood: A wooden mobility ramp is the most common and cost-effective option. Ensure the wood is treated for weather resistance if the wheelchair ramp will be outdoors.
- Aluminum: Lightweight, durable, and low-maintenance. It will be a good investment for your accessibility solution for mobility.
- Concrete: A permanent and sturdy option, though typically more expensive and harder to install.
5. Build or Hire a Contractor
- DIY: If you’re handy with tools and have the necessary materials, you can build the mobility ramp yourself. There are plenty of online guides and videos to help.
- Hiring a Professional: If you’re unsure about construction or need something custom-designed, hiring a contractor who specializes in accessible design is a good option.
6. Safety Features
- Handrails: Consider adding handrails on both sides of the wheelchair ramp for extra stability.
- Turning Platform: If the mobility ramp is long, a flat platform or landing area may be required where users can rest or turn around.
- Lighting: Ensure there’s proper lighting if the wheelchair ramp will be used at night.
7. Installation
- If you choose a pre-built or modular mobility ramp, you can usually install it yourself with the help of a few people. If you’re building it from scratch, follow the design plans carefully, keeping safety and slope in mind.
8. Test It Out
- Once the ramp is complete, do a test run. Ensure it’s stable, smooth, and comfortable for the intended user.
If you want more specific advice on materials or regulations, get in touch with Cairo Contracting today and let us help you with the ramp accessibility solution.